

How to Build a One-Lens System for a Week-Plus Travel Shoot
Working with a single versatile lens for a week-long travel assignment forces clarity: you design a narrative around what that lens does best, prepare editor-ready deliverables in advance, and rely on a minimalist workflow to deliver feature-quality work on the road. This guide walks through planning, gear, composition, editing, and delivery so you can execute a tight, brand-consistent travel shoot with one lens. ⏱️ 5-min read
Define the One-Lens Mission
Start by stating the story you want to tell and the constraints you’ll accept. Is this a cultural portrait essay, a landscape-driven travel feature, or a food-and-street narrative? Decide the focal story beats for the week, how many final frames your editor expects, and any format requirements (web gallery, print spread, vertical hero images).
Before you leave, map editor-friendly deliverables: a target number of selects (for example 30–50 strong images), a short caption for each, a suggested sequence for a feature spread, and a handful of hero frames (wide, environmental portrait, detail). This upfront mapping transforms aimless shooting into purposeful coverage.
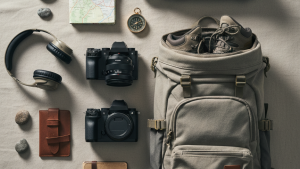
Select Your One-Lens Kit
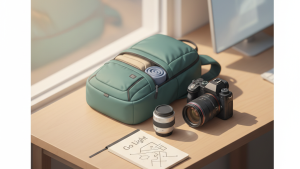
Choose a lens that covers the majority of scenes while complementing your shooting style. Two practical options: a 24–70mm (workhorse flexibility for landscapes, architecture, and environmental portraits) or a prime like 35mm (consistent perspective, excellent for storytelling and low-light street work).
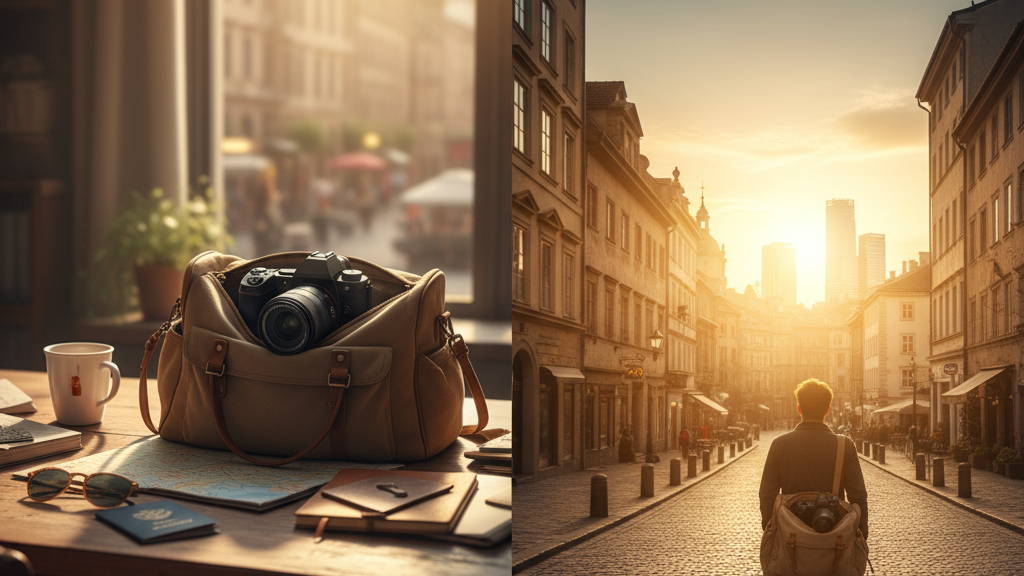
- Essential accessories: spare battery, one extra memory card, a lightweight tripod or monopod, a small travel polarizer, and a compact rain cover.
- Backups and contingencies: carry a second small drive or a cloud plan for backups, a basic cleaning kit, and a compact remote release or beanbag for low-angle stability.
Keep everything in one bag. A single, well-organized camera bag reduces switching costs and protects against delays or lost gear while traveling.
Destination Research and Narrative Arc
Research light and local rhythms: sunrise and sunset times, market days, rituals, and typical weather patterns. Plot those into a three-act photo essay arc you can realize with one lens: setup (establish place and characters), hinge moments (interaction, discovery), and resolution (conclusion or reflection).
Storyboard the arc at a high level so each day has clear beats to capture — e.g., Day 1: arrival and context; Days 2–4: people and rituals; Days 5–6: detail, departure. Use maps and time-of-day studies to schedule when and where to be for the strongest light and cultural access.
Craft Editor-Ready Shot List
Turn the narrative arc into a focused shot list. For each scene beat, specify a handful of required moments and a variety of compositions you can achieve without changing lenses. For example:
- Establishing wide: street scene at golden hour — 1–2 horizontal frames for hero use.
- Environmental portrait: subject in context — full-body and tighter three-quarter shot.
- Detail: hands, textures, food — close framing, shallow depth to isolate subject.
- Action/hinge: decisive moment or interaction — multiple frames to ensure a keeper.
Pair each planned image with provisional captions and keywords that editors use for quick selection: who, where, why it matters, and credit lines. Having captions written in advance (even as short notes) speeds post-trip delivery and makes selects immediately publishable.
Composition, Color, and Context with a Single Lens
Work the frame to create variety despite a fixed focal length. Commit to a few compositional strategies that scale across scenes:
- Change distance to subject: move closer for intimacy, step back for context.
- Vary perspective: shoot low for monumentality, high for patterns, and level for documentary honesty.
- Use foreground interest and negative space to create depth when you can’t change focal length.
- Exploit light and color: seek complementary palettes (warm light on cool backgrounds), reflections, and backlight to add dimension.
Use movement, repeating patterns, and reflections to add visual diversity. With a prime like 35mm, rely on your feet and framing; with a zoom, compress and expand scenes to produce both environmental and tighter narrative shots without swapping glass.
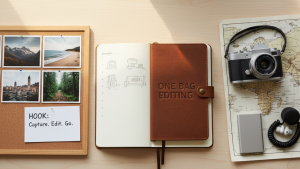
One-Bag Editing: A Minimalist Workflow for Travel Photographers
Build a portable editing routine so you can triage and deliver on the road. Set a daily short session (30–60 minutes) to import, cull, and backup. Keep naming and organizational rules simple and consistent.
- File naming: JOB_LOC_DAY_## (e.g., NAPA_2025_03_01_001) so editors can see context at a glance.
- Folder structure: RAW/EDITS/EXPORTS and an OUTBOX for immediate editor deliveries.
- Backups: copy to a second physical drive each day and sync critical selects to cloud storage when bandwidth permits.
For quick triage, adopt a three-tier select system: Keep (editor-ready), Hold (possible lighting or expression issues), Reject. Export small JPEG contact sheets for editors to review, and pre-write captions into metadata fields to save time later.
Brand Voice and Consistency in Travel Media
Define the tonal and visual language you’ll maintain across the shoot. Agree on voice with your editor or client: intimate and observational, upbeat and commercial, or investigative and factual. That decision guides framing, caption tone, color grading, and shot sequencing.
Maintain consistency by enforcing a few editing rules: a single color temperature approach per light condition, a uniform contrast curve, and consistent crop ratios. Use the same caption style—short, factual lead sentence followed by brief context—and standardized credit lines so editors get a coherent package without extra work.
From Idea to Publish: Packaging and Delivery
Prepare final selects and metadata to match your editor’s specs. Typical export checklist for features:
- File format and size: high-res JPEG or TIFF for print (300 ppi, long edge 3000–5000px), web-optimized JPEGs for online.
- Color space: sRGB for web, Adobe RGB or ProPhoto for print if requested.
- Sharpening and metadata: apply export sharpening per medium and embed captions, credits, and usage rights in IPTC fields.
Deliver a suggested sequence and a short editorial note that ties your selects to the narrative arc, plus pull-quote ideas or captions for display. Coordinate deadlines and preferred transfer methods (WeTransfer, SFTP, or a shared drive), and remain available for quick revisions—editors value responsiveness almost as much as strong images.
Working with one lens for a week-plus shoot is a discipline that sharpens storytelling: you learn to anticipate, move deliberately, and craft a cohesive visual argument editors can use immediately. With a clear mission, a tight shot list, a minimalist kit, and a compact workflow, you’ll produce focused, publishable travel features that prove less is often more.
![图片[1]-How to Build a One Lens System for a Week-Plus Travel Shoot-YiMeng](https://www.zhangpengchao.com/wp-content/uploads/2025/12/ZPC03009-1024x683.jpg)


暂无评论内容